Welcome aboard, future email marketing maestro! If you’re just stepping into the world of MailerLite, you’re about to embark on a journey that’s going to supercharge your email marketing game. MailerLite, with its user-friendly interface and powerful features, is a tool that can help you connect with your audience, build lasting relationships, and grow your business. This comprehensive guide will walk you through the basics of getting started with MailerLite, so buckle up and let’s dive in!
Signing Up for MailerLite
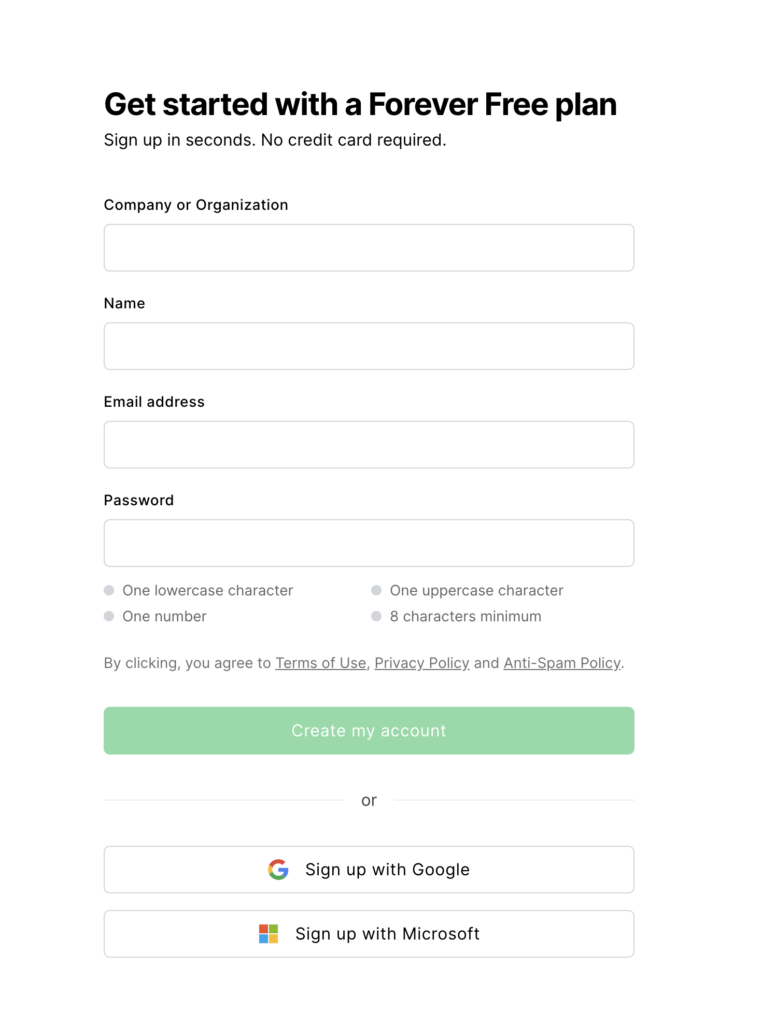
The first step on your MailerLite journey is signing up. It’s as simple as 1-2-3:
- Visit the MailerLite website.
- Click on the ‘Sign Up Free’ button.
- Fill in your details.
And just like that, you’re part of the MailerLite community! But don’t forget to verify your email address to fully activate your account.

Navigating the MailerLite Dashboard
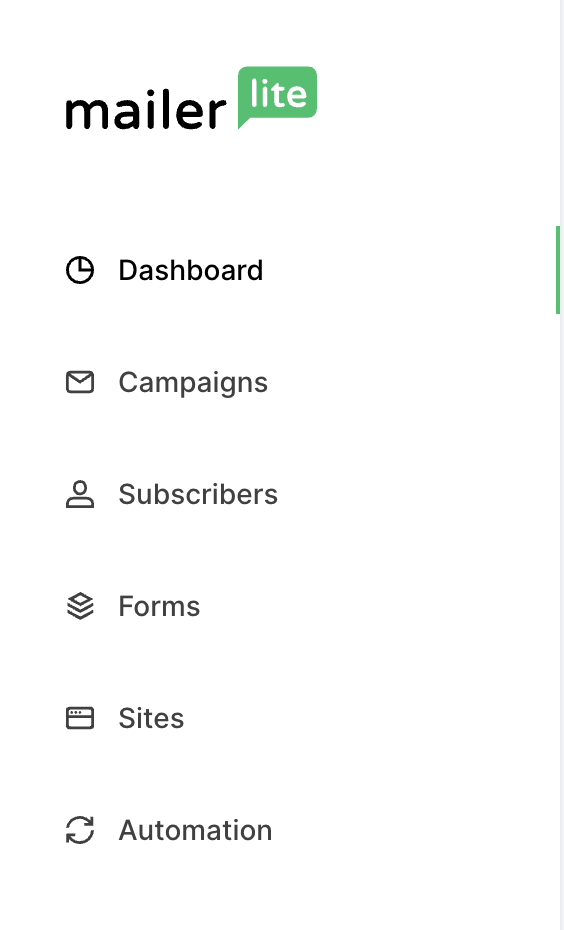
Once you’re logged in, you’ll find yourself on the MailerLite dashboard. It’s clean, intuitive, and designed to make your email marketing tasks a breeze. Here’s a quick tour:
- Campaigns: This is where you’ll create and manage your email campaigns.
- Subscribers: Here, you can manage your subscriber list, segment your audience, and create groups.
- Forms: Create and customize forms to attract and sign up new subscribers.
- Automations: Set up automated emails based on specific triggers.
Spend some time exploring these sections to familiarize yourself with the platform.

Managing Your Subscribers
Before you can send out your first email campaign, you’ll need to import your subscriber list into MailerLite. Here’s how:

- Click on ‘Subscribers’ and then ‘Add subscribers’.
- Choose how you want to import your subscribers. You can upload a file, copy and paste, or import from another service.
- Follow the prompts to complete the import process.

Remember, it’s crucial to maintain a clean, high-quality mailing list. MailerLite will ban your account if your list is full of old or invalid email addresses. Regularly clean your list to remove inactive subscribers and keep your engagement rates high.
Creating Your First Email Campaign
Now, let’s get to the exciting part: launching your first email campaign. Here’s a step-by-step guide:

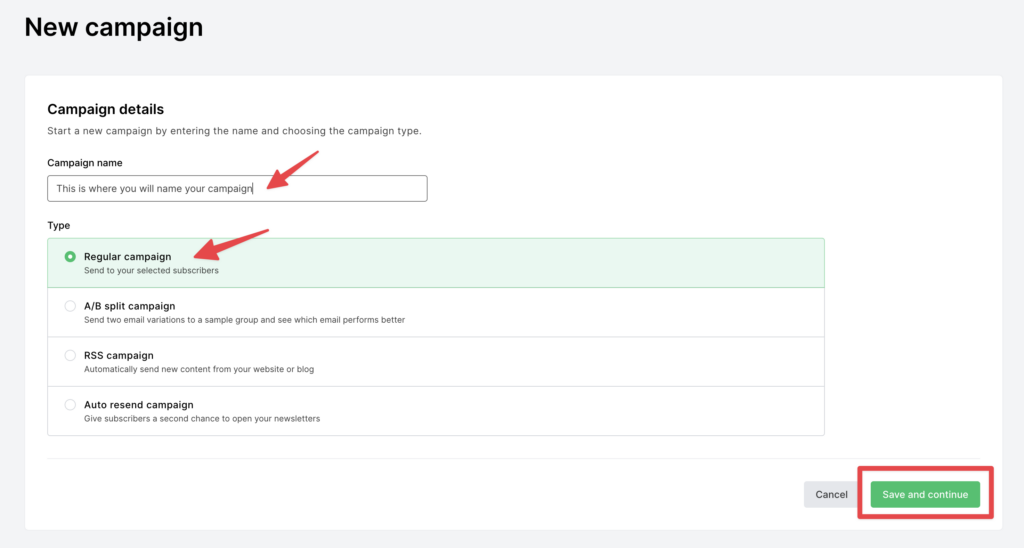
- Click on ‘Campaigns’ and then ‘Create Campaign’.
- Choose ‘Regular Campaign’.
- Fill in the campaign name and subject line. Make your subject line catchy to increase open rates.
- Select your recipients. You can choose a whole list or a specific segment.
- Choose a template and customize your email. Make sure your email reflects your brand.
- Review your email and click ‘Send’ when you’re ready.
Remember, the key to a successful email campaign is a catchy subject line and engaging content.
Setting Up Automations
Automations are one of MailerLite’s most powerful features. They allow you to send automated emails based on specific triggers, like a new subscriber or a purchase. Here’s a simple way to set up an automation:

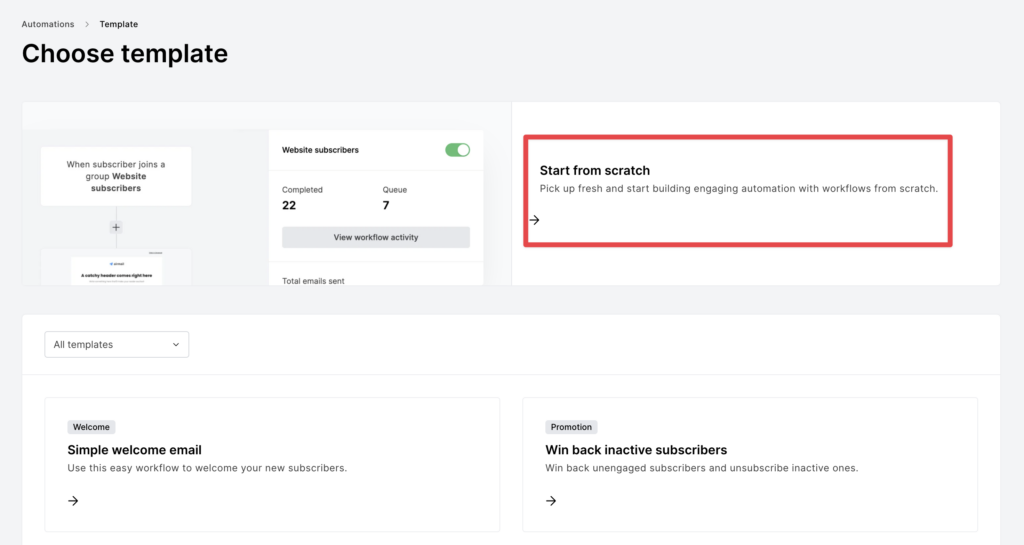
- Go to ‘Automation’ and click on ‘New Automation’.
- Name your workflow and choose your trigger. This could be when a subscriber joins a group or when they click on a link in an email.
- Click on the ‘+’ button to add an action, like ‘Send Email’.
- Customize your email and click ‘Save and Exit’.
- Review your workflow and turn it on.
Analyzing Your Results
MailerLite provides robust analytics to help you understand your campaign performance. Here’s what you can track:
- Open rates: The percentage of recipients who opened your email. If your open rates are low, consider experimenting with different subject lines.
- Click rates: The percentage of recipients who clicked on a link in your email. Low click rates could indicate that your content isn’t engaging enough or your call-to-action isn’t clear.
- Unsubscribe rates: The percentage of recipients who unsubscribed after receiving your email. A high unsubscribe rate could be a sign that you’re not meeting your subscribers’ expectations.
Use this data to refine your strategy and improve your results over time.

Conclusion
And there you have it! You’re now ready to dive into email marketing with MailerLite. Remember, the key to success is consistency and creativity. Don’t be afraid to experiment with different strategies and keep your audience engaged. Happy emailing!


